
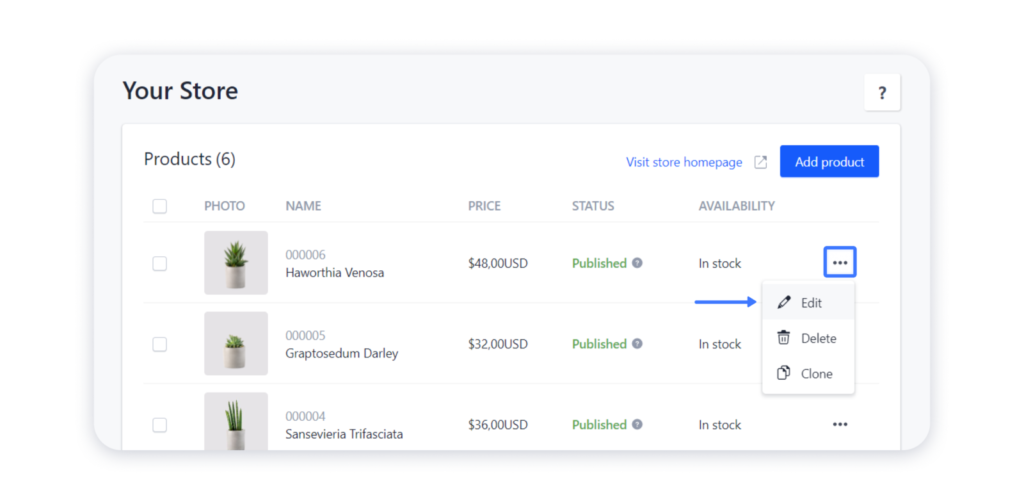
1. Select a product for which you’d like to add ribbons. Click on the three dots near it and select Edit:
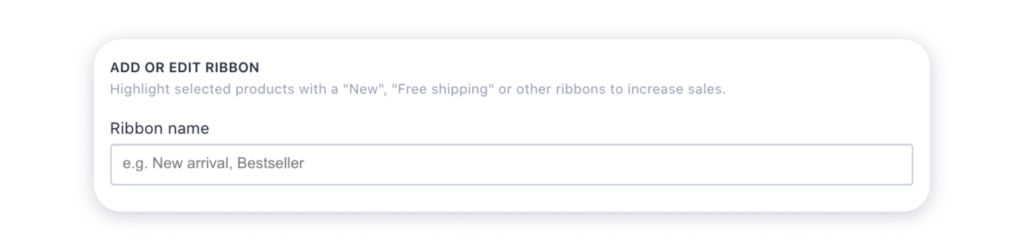
2. In the opened General tab, scroll down and press on the blank field either to opt for one of our default ribbons or add your own ribbon:
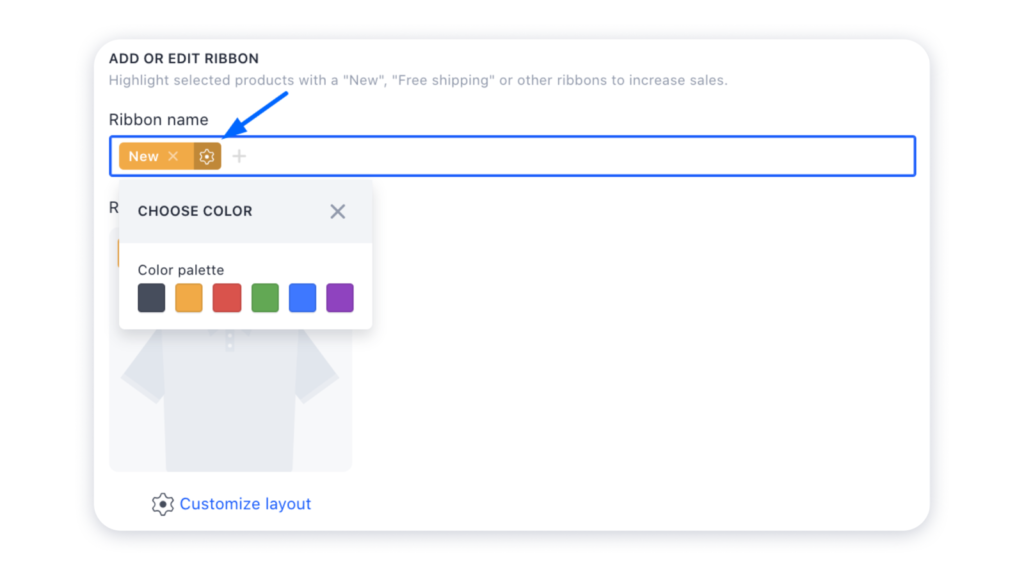
3. To change the ribbon’s color, press on the gear and choose the desired one:
4. Click Save to make all changes live:

Customizing ribbon’s layout
1. You can also change the ribbon’s layout by pressing on the Customize layout button:
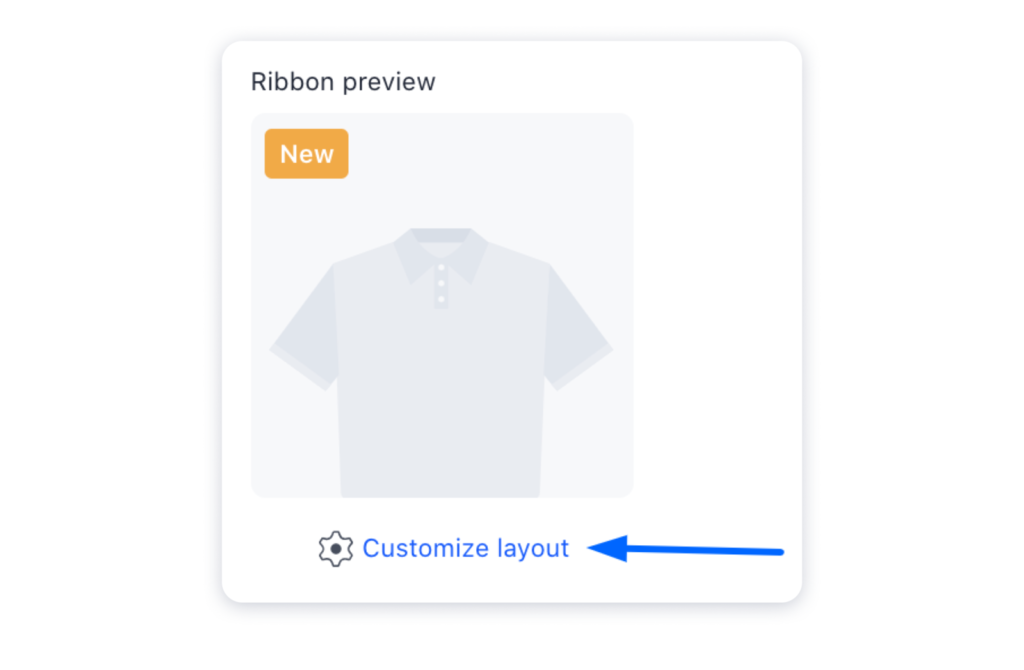
2. In the opened window choose the type, position and visibility of SKU (Stock Keeping Unit):

Note: All these settings will affect all the products in your store.
Once you’ve added the ribbons, they will be displayed on the product cards in the Product, Storefront blocks and Product element, as well as on the Product page.
If you want a ribbon to be displayed on the Product page, make sure you’ve ticked the checkbox Ribbon in the product details settings.

Important: For ribbons to be displayed on the live site, previously created sites must be republished.
This is how the ribbons will look on the published website:

Deleting a Ribbon
1. To delete the ribbon, select an existing product and click on the X mark:

2. Save the changes.
Note: Currently, you cannot delete the ribbons globally.